
Reviews
Ihre Grafiken verleihen meinen Präsentationen eine nette Note, und ich habe sie kürzlich für eines meiner All-Hands-Meetings verwendet. Ihre Toolbox verleiht meinen Folien Professionalität, anstatt Standard-Clipart zu verwenden.
Ich brauchte einen neuen Blick auf einige meiner Folien. Ich habe versucht, einen Weg zu finden, einen Pinselschlag-Effekt zu erzielen, um zu unterstreichen, hervorzuheben, Farbe hinzuzufügen, und die handgeschriebenen Markierungen waren genau das Richtige. Sehr einfach zu bedienen, leicht in der Größe zu ändern, die Farbe zu ändern. Es war eine erschwingliche, perfekte Lösung und ich empfehle sie gerne weiter.
Die klare, saubere Optik der Grafiken und die Tatsache, dass ich die Farben leicht bearbeiten und an die Vorlage anpassen konnte, war mein Hauptgrund für den Kauf.
Description
Modifying Scribble diagram graphics:
Slide Content
The PowerPoint slide titled "Modifying Scribble diagram graphics" gives a step-by-step guide on how to alter the visibility of connectors' ends within diagram graphics. It suggests selecting the connector’s end (A), placing it within a text box (C), sending it to the back (D), and grouping it together (E). Each step is expanded with an explanation; for example, 'Select connector’s end (A)' implies choosing the endpoint you wish to modify. 'Place it within text box (C)' suggests covering the endpoint with a textual element. 'Send it to back (D)' means arranging the layers so that the connector’s end is behind the text box. 'Group it together (E)' refers to merging the elements into a single object for easier manipulation.
Graphical Look
- The slide uses a white background with minimal textual content.
- The text is arranged in a large, bold, dark blue font for the title and smaller, black font for the body.
- It includes three graphical callouts with letters A, C, and E highlighted within colored circles, corresponding to specific steps in the process.
- There are two speech bubble shapes for callouts labeled A and C, both containing placeholder text, which emulate the interface of graphical editing software.
- An arrow icon symbolizing progression or workflow is situated between the two callout shapes.
- A rectangular strip shape annotated with a D contains a screenshot of graphical software menus and options.
- There's a green-colored circle with the letter E near a text box indicating the final step 'To group'.
- The graphical elements are designed to visually represent the steps of hiding a connector’s end in a diagram.
The overall look of the slide is clean and professional, with graphics and colors strategically used to enhance comprehension of the instructions. The design facilitates easy understanding of each modification step by associating them with familiar visual elements from editing software.
Use Cases
- To educate employees on how to use presentation software for creating or modifying diagrams.
- To guide participants in a workshop focused on enhancing visual communication skills through diagram customization.
- For instructional content in online tutorials or e-learning modules about using presentation tools.
- As part of a training manual or support documentation providing step-by-step instructions for software features.
How to Edit
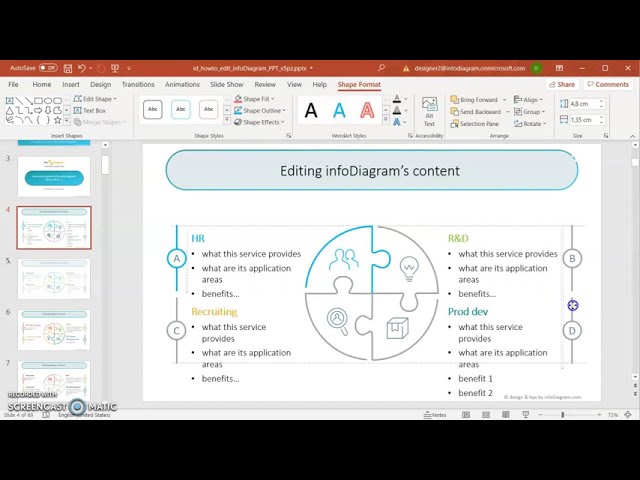
How to edit text & colors
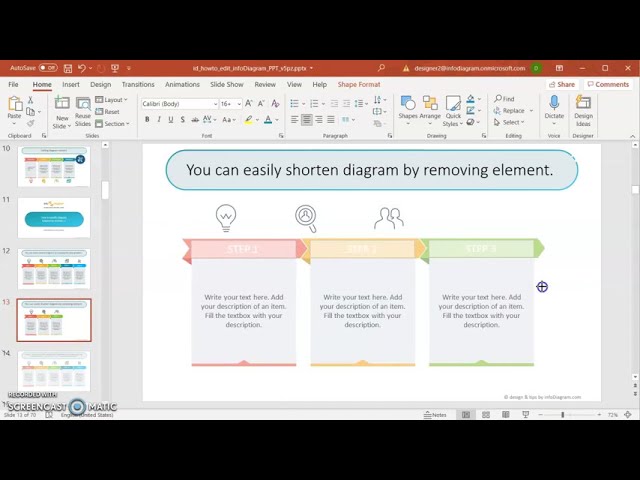
How to expand / shorten diagram
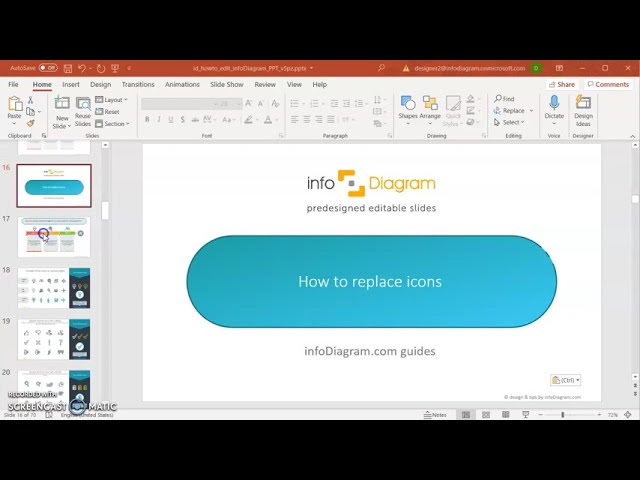
How to Replace Icons in infoDiagram PPT

This slide is part of the deck: