
Reviews
Sus gráficos añaden un toque agradable a mis presentaciones y recientemente los usé para una de mis reuniones generales. Su conjunto de herramientas añade profesionalismo a mis diapositivas. En lugar de usar imágenes prediseñadas estándar.
Necesitaba un aspecto fresco para algunas de mis diapositivas. Había intentado encontrar una forma de crear un efecto de pincel, de subrayar, acentuar, añadir algo de color y los marcadores escritos a mano fueron justo lo que necesitaba. Muy fácil de usar, fácil de ajustar el tamaño, cambiar el color. Fue una solución asequible y perfecta, y estoy feliz de recomendarla.
El aspecto nítido y limpio de los gráficos, y el hecho de que me permitiera editar y cambiar fácilmente los colores para que coincidieran con la plantilla fue mi principal razón para comprarlos.
Description
Editing Outline Icons in PowerPoint
Slide Content
The slide explains how to properly edit outline icons in PowerPoint. It suggests that users should change the outline color of the icons easily and adjust the width of the icon outline by changing the shape weight. The concepts of "Do" and "Don't" are illustrated with examples: for "Do," icons are shown with varied outline colors and thicknesses, demonstrating customization; for "Don't," one icon is filled with color which makes it unreadable, and another is shown with an overly thick line, indicating poor readability.
Graphical Look
- The slide background is white, providing a neutral canvas for text and graphics.
- The title of the slide, "Editing Outline Icons in PowerPoint," is prominently featured at the top in bold black text.
- Two main content areas divide the slide: 'Do', with a turquoise background and white text, and 'Don’t', with a red background and white text. These act as headers for their respective sections.
- Screenshots of PowerPoint interface elements – the 'Shape Outline' dropdown menu and the 'Shape Weight' selection tool – serve as visual aids under each content area.
- Sample icons are displayed below the interface screenshots to show the effect of the described editing techniques.
- Arrows are used to connect the interface element screenshots to the corresponding icon examples, creating a visual flow from instruction to illustration.
- The footer is excluded from the description per instructions.
The slide uses a combination of flat design for the icons and screenshots, and contrasting colors to differentiate between recommended practices and common mistakes. Clever use of arrows creates a clear visual path from problem to solution.
Use Cases
- To instruct employees on best practices for creating visually effective PowerPoint presentations.
- During a workshop on graphic design principles within presentation software like PowerPoint.
- As part of a training module for new hires who will be using PowerPoint frequently in their roles.
- To provide a visual guide within an instructional document or online tutorial focusing on PowerPoint design techniques.
How to Edit
How to edit text & colors
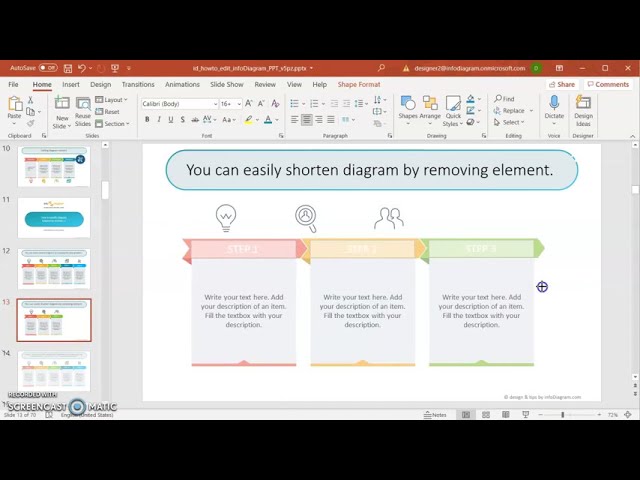
How to expand / shorten diagram
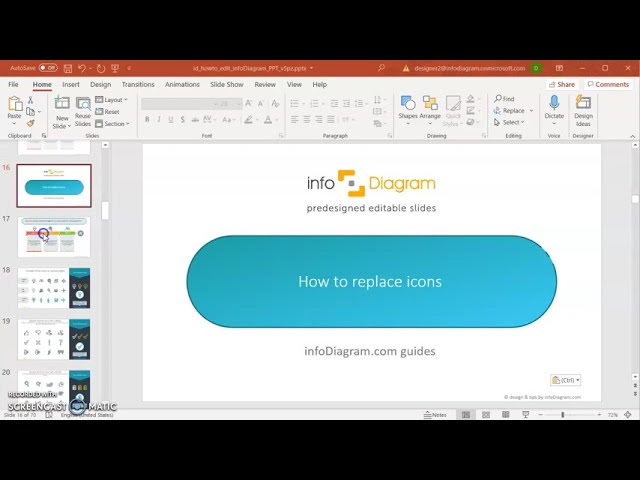
How to Replace Icons in infoDiagram PPT

This slide is part of the deck: